Every year around Christmas, Mr. Happy Stuff and I like to make cashew brittle together. I believe it was originally my Grandma Beachey’s recipe, but we’ve been making it our own for so long that I’ve forgotten. I love it because it’s tasty AND you don’t need a candy thermometer. Here’s a list of ingredients to gather:
A “walnut-sized” piece of butter (this recipe note is how I know it’s old)
1 c. sugar
½ c. light Karo syrup
½ c. water
1 t. vanilla
1.5 c. cashews (or other nut)
1 ½ t. baking soda
The first thing you’ll want to do is prep your work area. Once your brittle gets to the right stage, everything will move VERY quickly and you will not have time to measure anything. It also helps to have a second person around to help. To prep your space, measure out your baking soda and cashews into separate containers, ready to pour when ready.

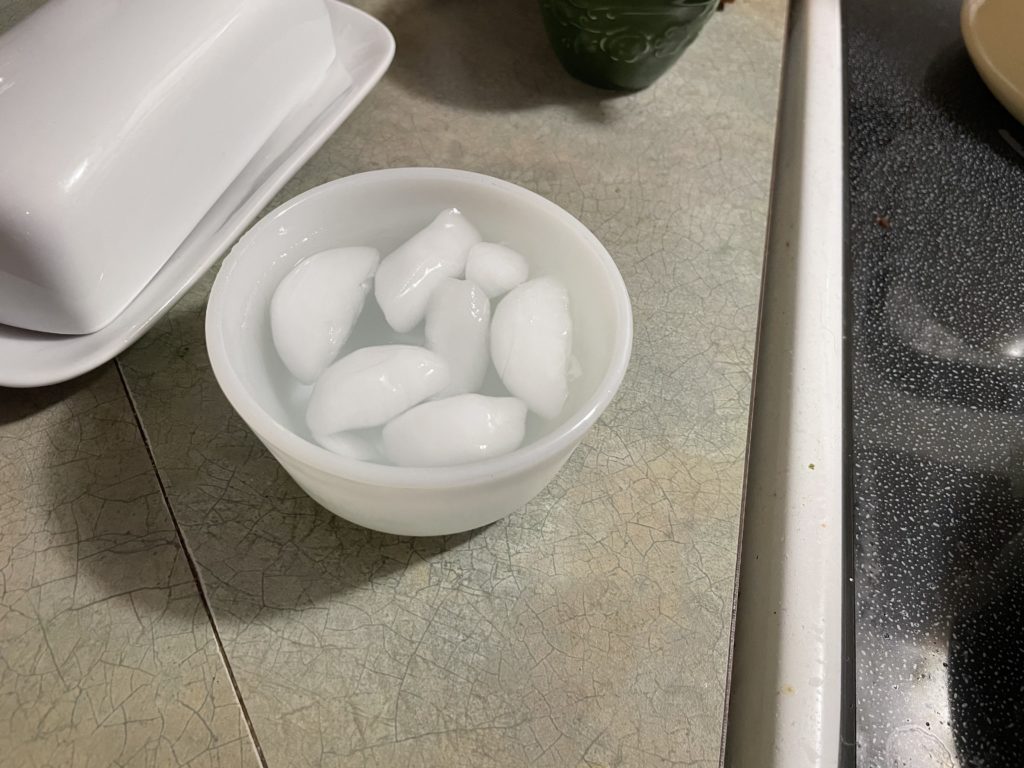
Also make a small bowl of ice water and set it next to your stove.
and butter a stiff rubber scraper or wooden spoon and have either a buttered cookie sheet or non-stick mat ready too. (note: my mat in the photo below is still damp from washing and I do NOT recommend that… this batch is weirdly sticky on the back side and I think it’s because of the water.)

Combine the first 5 ingredients in a saucepan and heat over medium.
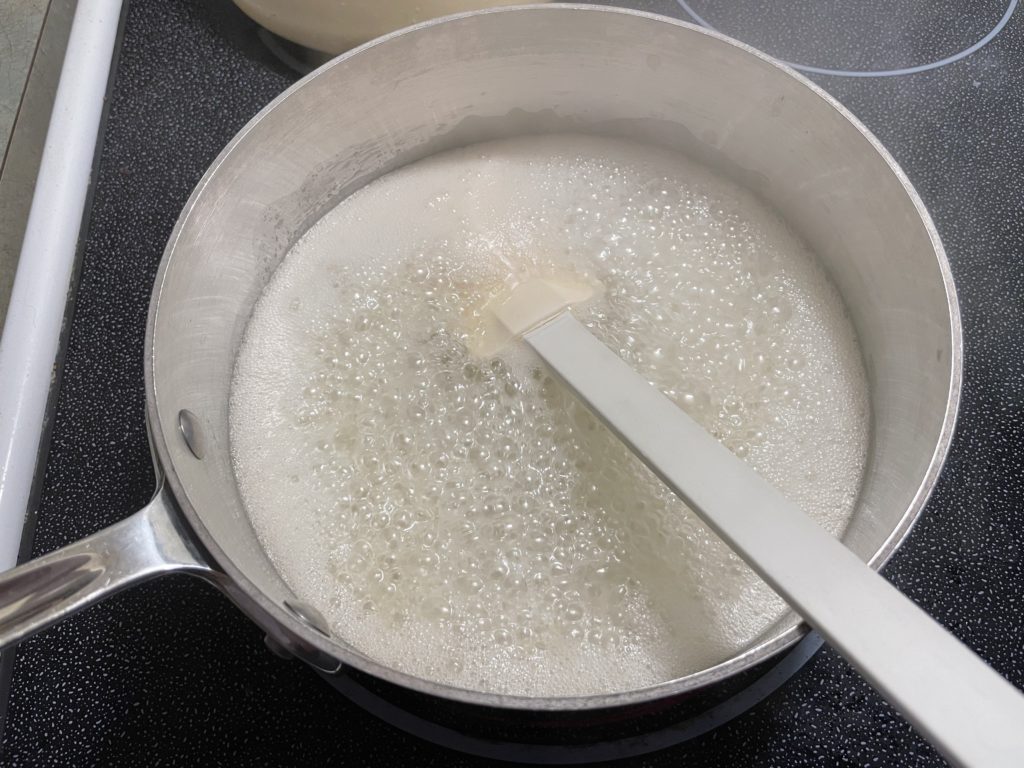
Stir and stir and watch it go from clear to bubbly to really bubbly and slightly amber colored….
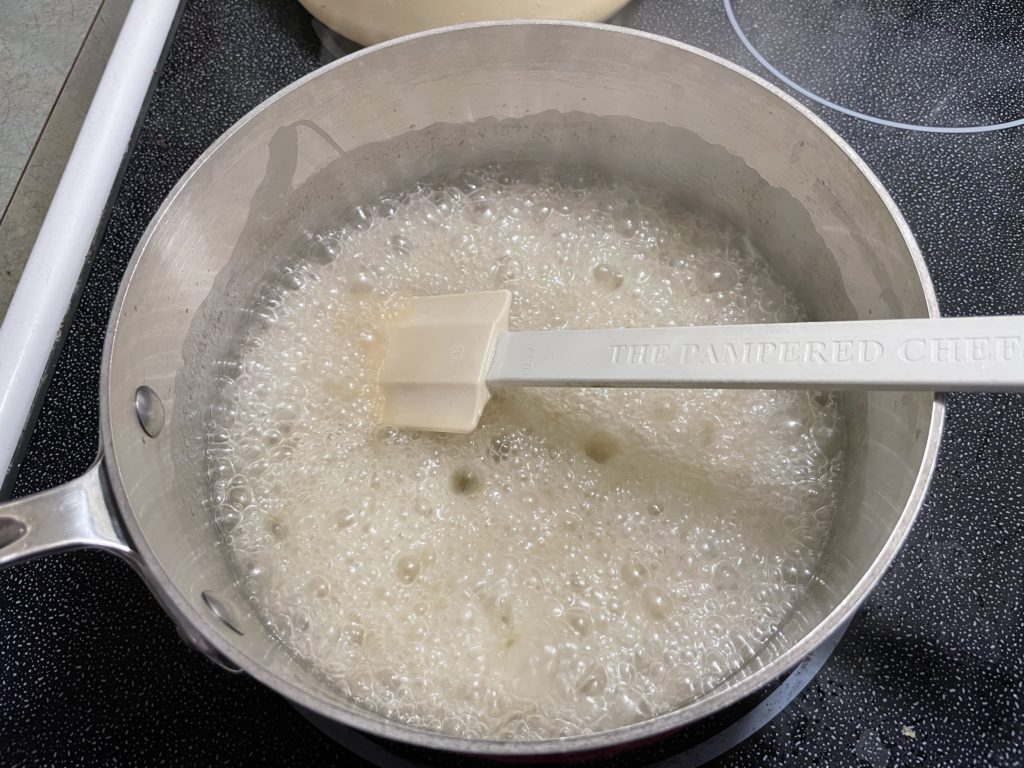
…to a darker amber color and a thickness that allows you to see the bottom of the pan as you’re stirring the hot sugar mixture.

when it reaches this stage, drip a tiny bit off your spoon into the bowl of ice water.

then fish out the drip of sugar. If it’s still soft enough to squish, you’ve still got a long way to go.
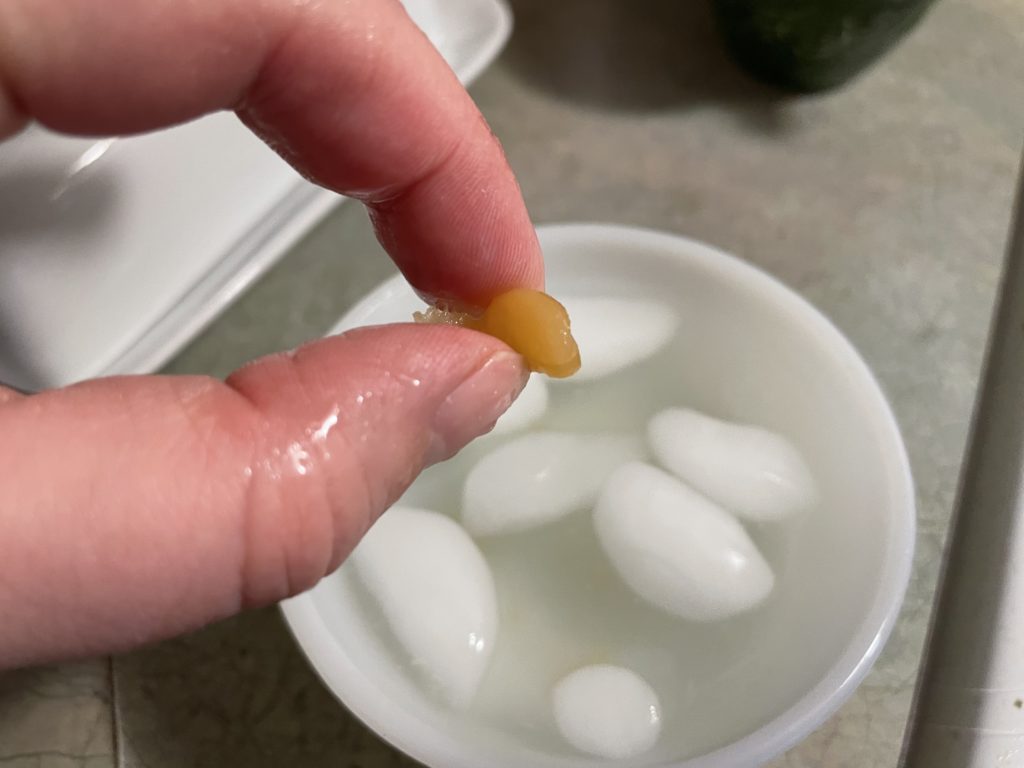
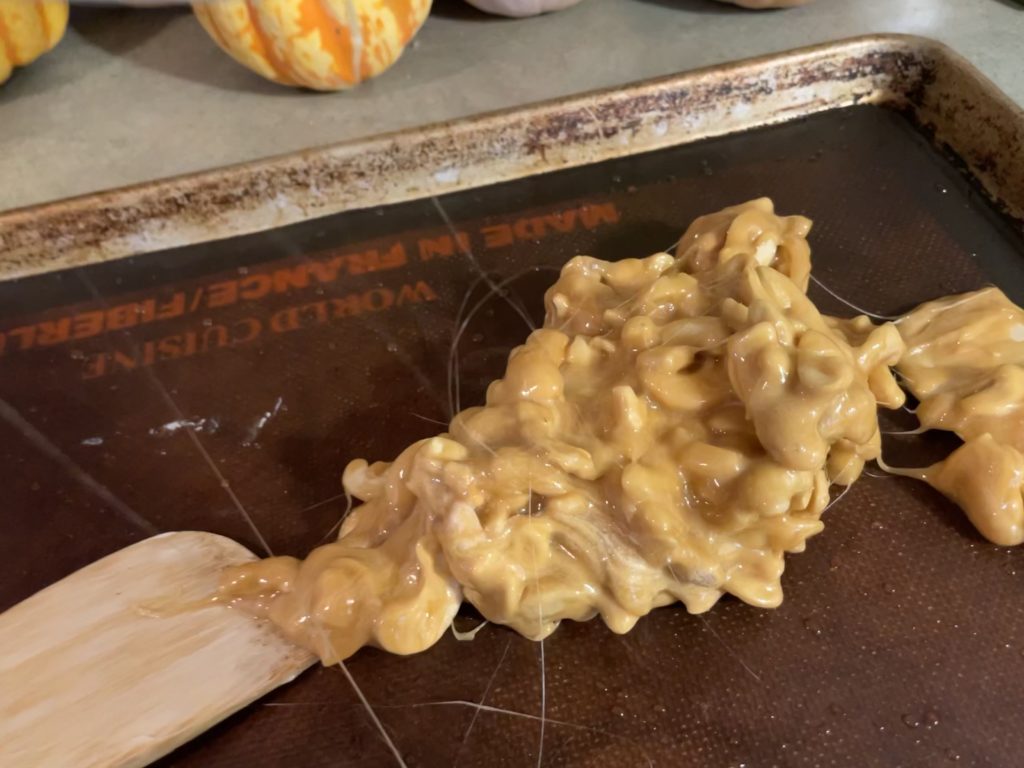
If you bite it and it’s hard and crunchy (basically the same texture you want your brittle to be in the end) then you’re ready for the next step. If it is crunchy, but sort of sticks in your teeth, leave it for just another few moments and test again. Once it’s at the right stage of crunchiness, remove it from the heat and quickly stir in your cashews:
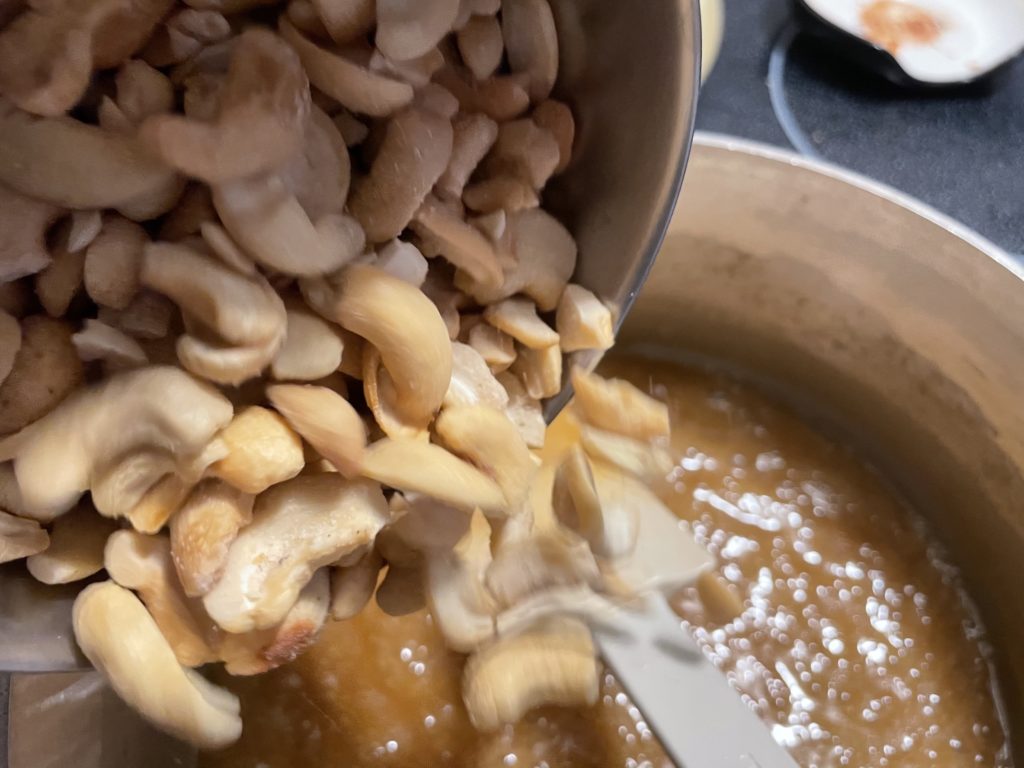
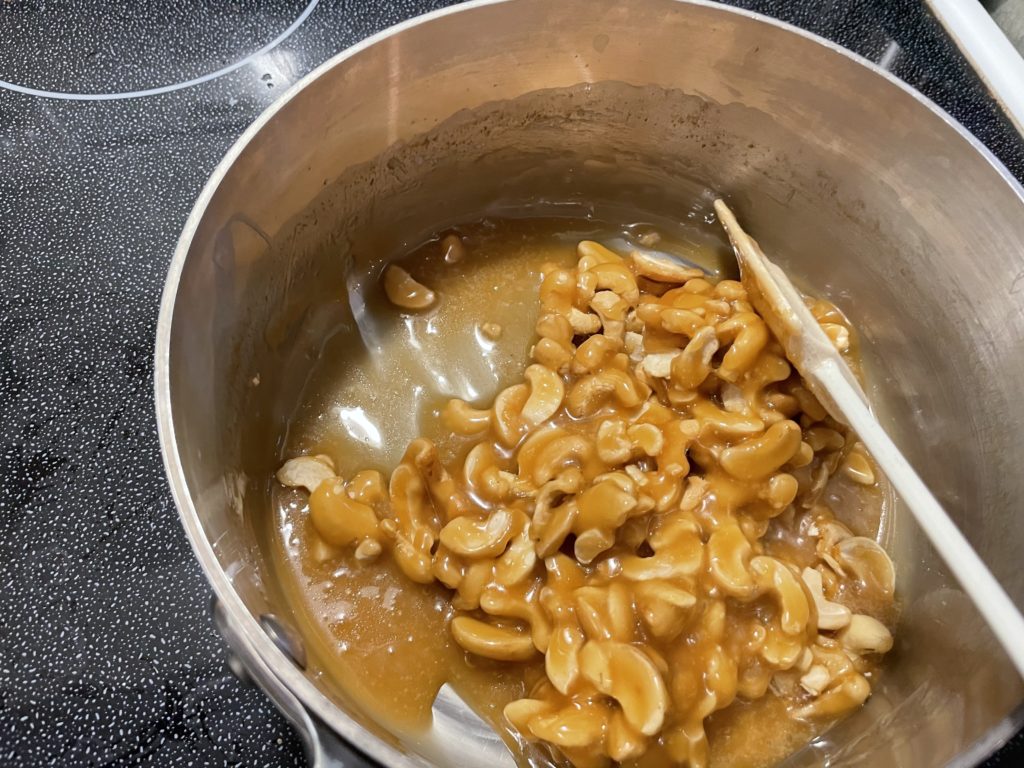
stir until the sugar mixture is thoroughly coating your nuts, then dump in the baking soda and stir like crazy (this is where it’s nice to have 2 people!).

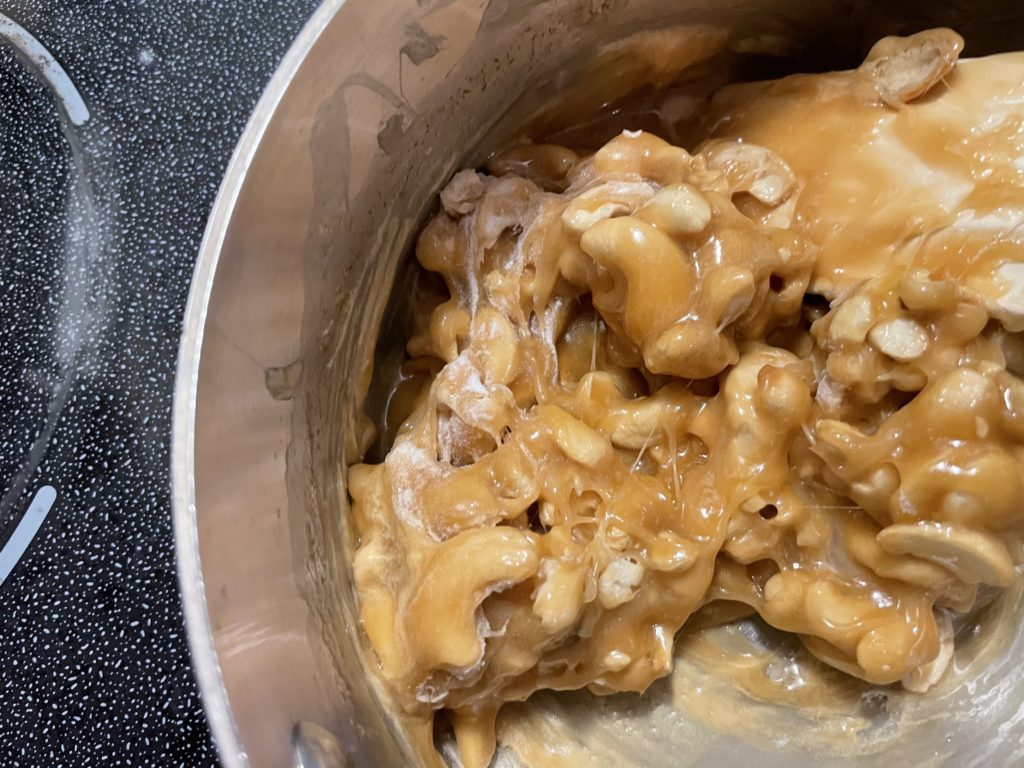
the sugar will turn a little foamy and lighter in color, less transparent. Stir until all of the baking soda is mixed in. It will start to stiffen up, but once the baking soda is thoroughly incorporated, dump it onto your non-stick surface and use your buttered spoon to flatten it out to your preferred thickness (generally not thicker than one nut’s thickness).

Jay pointed out that using a rubber scraper for those last hectic steps is a bad idea — use a stiff wooden spoon for more leverage. Once the brittle is fully cooled, break it into pieces and share with a friend!
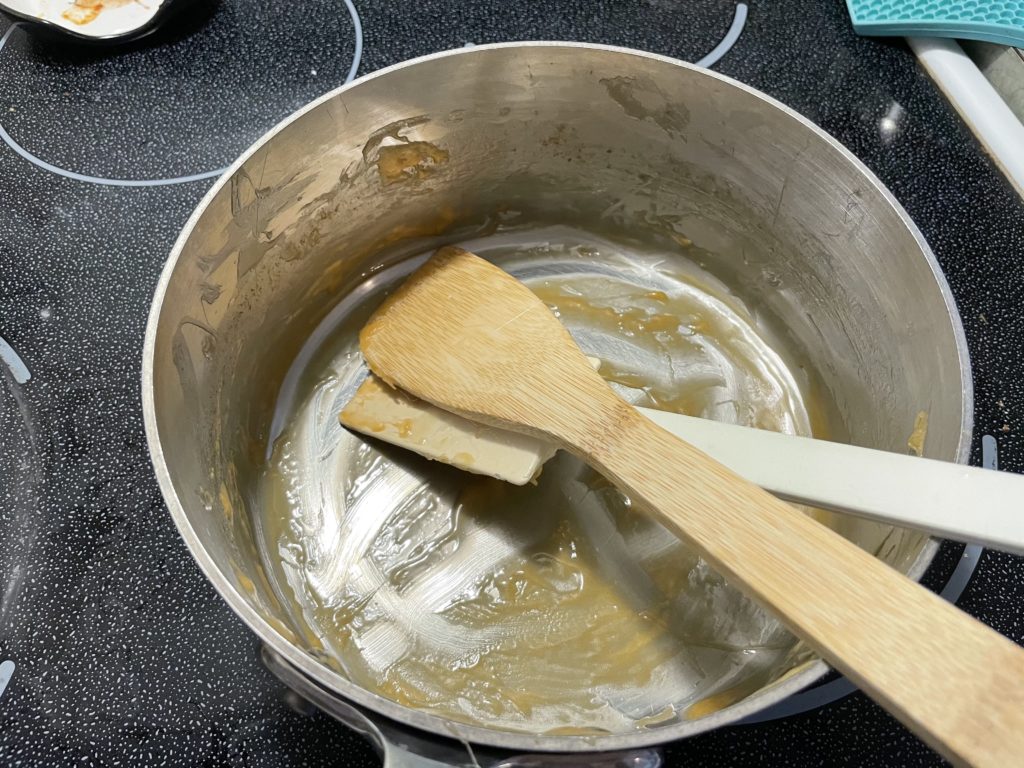
One last note: don’t fear the sticky sugar in your pan. Hot water will generally dissolve it right off, but if you’re really struggling, just fill the pot with water and bring to a boil and it will definitely come clean.
As tempting as it may be, I wouldn’t double this recipe unless you’ve got someone REALLY strong and fast to help you with those last steps. Enjoy!


 Â
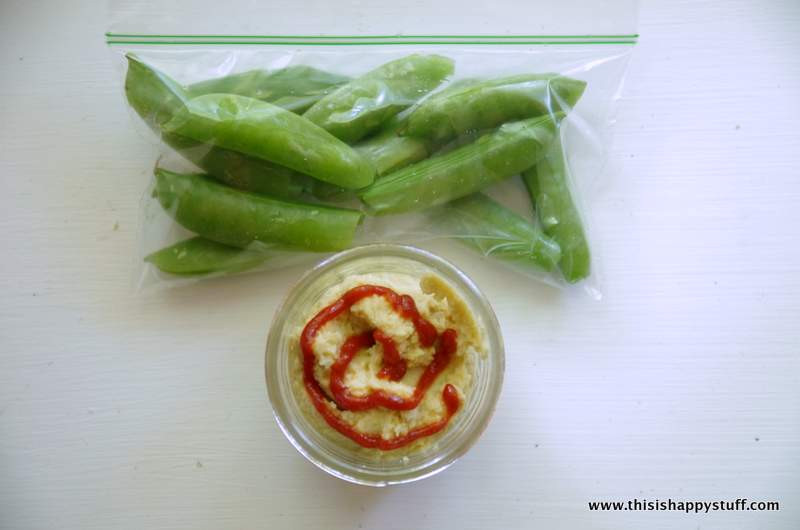
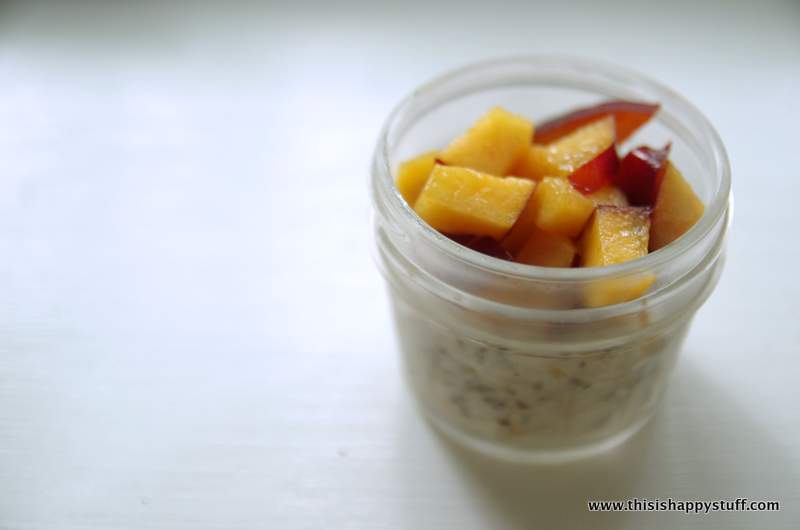
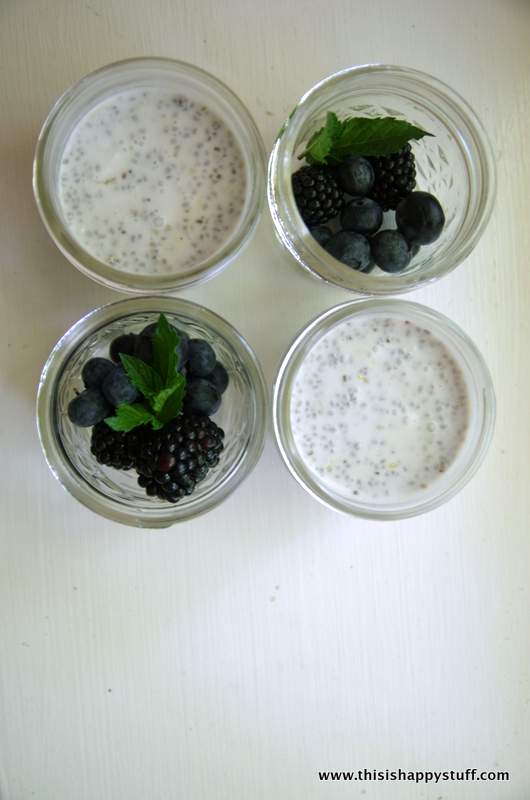 lemon chia pudding with fresh berries (1 can coconut milk + 1/4 c. chia seeds + juice and zest of one organic lemon. i might add more chia seeds next time. add sweetener if desired, but i prefer it tart like this.)